From Installation to Maintenance: What to Expect with a Radon Mitigation System
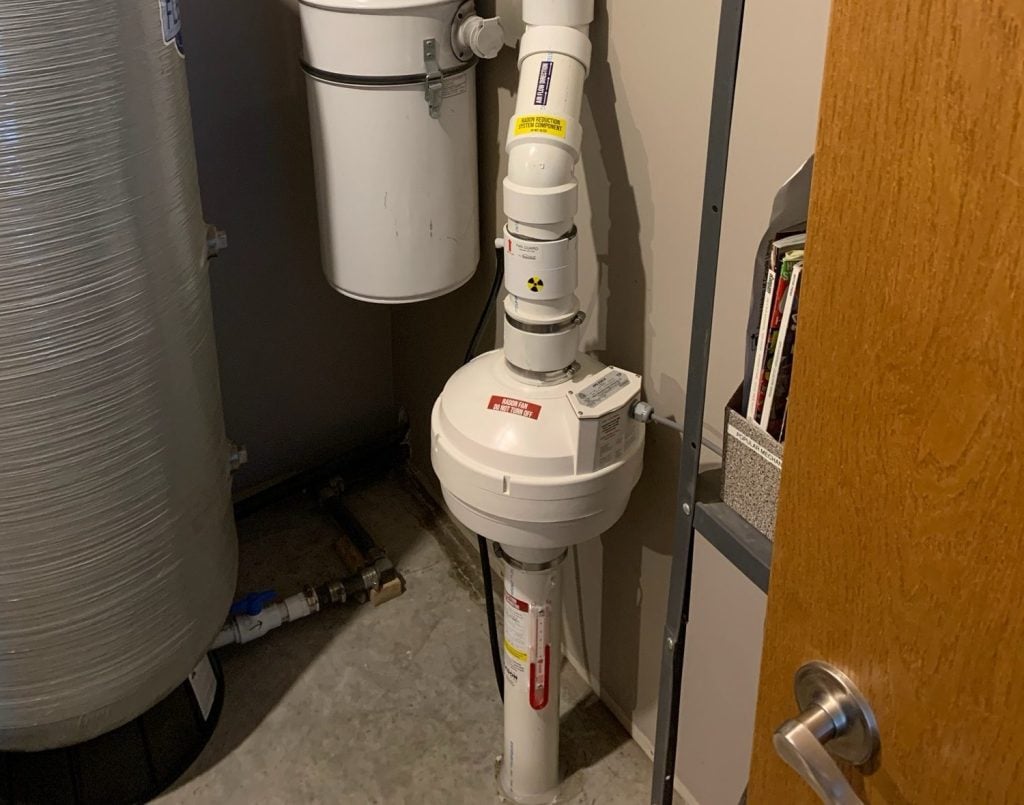
Radon is a serious concern for homeowners, as prolonged exposure to this radioactive gas can pose significant health risks. A radon mitigation system is an effective solution to reduce radon levels in your home. Understanding the entire lifecycle of the system—from testing to installation, operation, and maintenance—ensures your home stays safe over the long term.
In this guide, we’ll break down every step of the radon mitigation system installation process, from identifying a radon problem to monitoring your system for potential issues.
Testing for Radon: The First Step
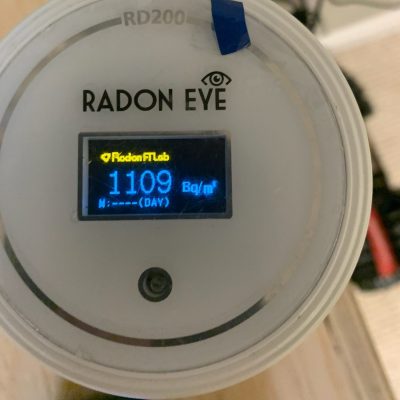
Before investing in a radon mitigation system installation, homeowners need to test their indoor air quality for radon. Health Canada recommends conducting long-term radon testing over at least three months for the most accurate readings. Test kits are available through retailers, certified radon professionals, or provincial health programs.
If radon levels exceed 200 Bq/m³, installing a mitigation system is necessary to lower the concentration and protect your household from long-term health risks, including lung cancer.
The Radon Mitigation System Installation Process
Once high radon levels are confirmed, the next step is the radon mitigation system installation process. A professional radon mitigation expert will assess your home’s foundation, size, and radon entry points to determine the most effective mitigation method. The most common approach in Canada is an Active Soil Depressurization (ASD) system, which includes:
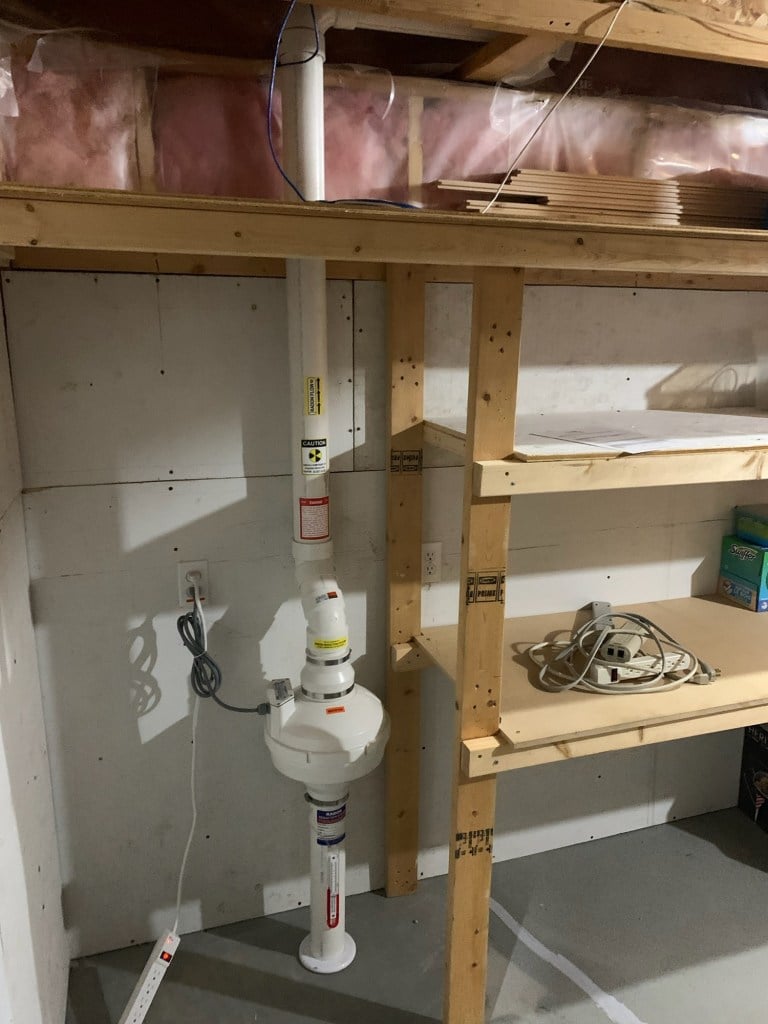
- Drilling a suction pit in the basement floor or crawl space.
- Installing PVC piping to channel radon gas from beneath the home to the outdoors.
- Connecting a radon mitigation fan to create negative pressure and continuously pull radon from the soil.
- Ventilating radon safely above the roofline to prevent re-entry.
A professional installation typically takes a few hours, with minimal disruption to your home. After installation, post-mitigation testing confirms the system effectively reduces radon to safe levels.
How Your Radon Mitigation System Works
Once installed, the system runs continuously, preventing radon from accumulating inside your home. The key component is the radon mitigation fan, which operates 24/7 to maintain negative pressure beneath your foundation. While these fans are energy-efficient, homeowners should expect a slight increase in electricity usage.
Proper vent placement ensures radon is expelled safely away from windows, doors, and air intake vents. It’s crucial to monitor the system’s operation regularly to ensure ongoing effectiveness.
Maintenance: Keeping Your System Running Efficiently
Like any home system, radon mitigation requires periodic maintenance to ensure long-term effectiveness. Follow these steps to keep your system functioning properly:
1. Regularly Check System Indicators
Many radon mitigation systems include a manometer or other pressure gauge that indicates whether the fan is operating correctly. If the reading is abnormal, the system may need servicing.
2. Annual Radon Testing
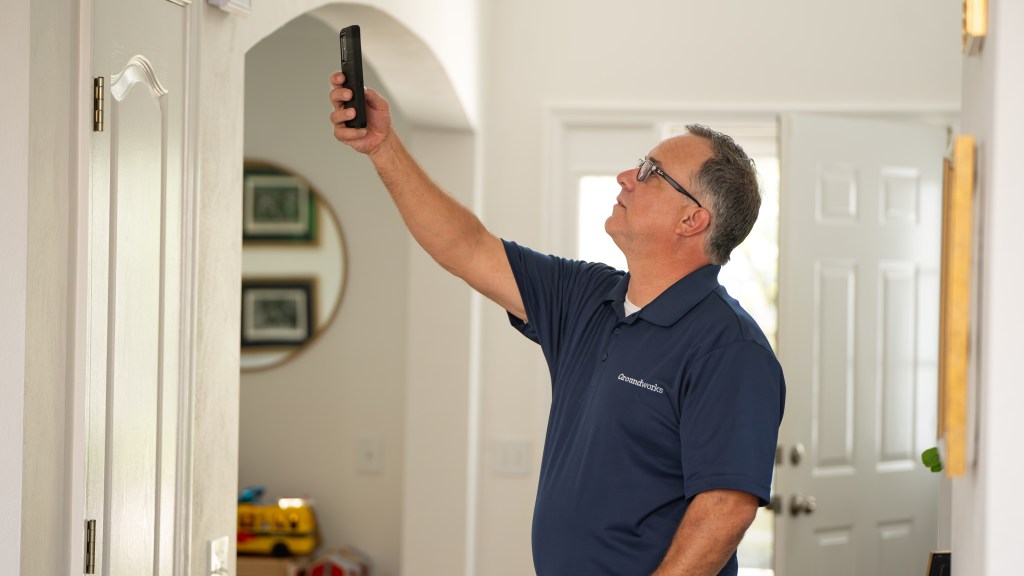
Health Canada recommends retesting radon levels annually to confirm the system is still performing as expected. If levels rise, there may be a blockage, leak, or malfunction in the system.
3. Inspect the Radon Mitigation Fan
The fan is a crucial component of the system, and over time, it may wear out or fail. Consult a radon mitigation fan replacement guide to identify when a fan needs replacing. On average, fans last 5 to 10 years, depending on environmental conditions and usage.
4. Clear Outdoor Vent Openings
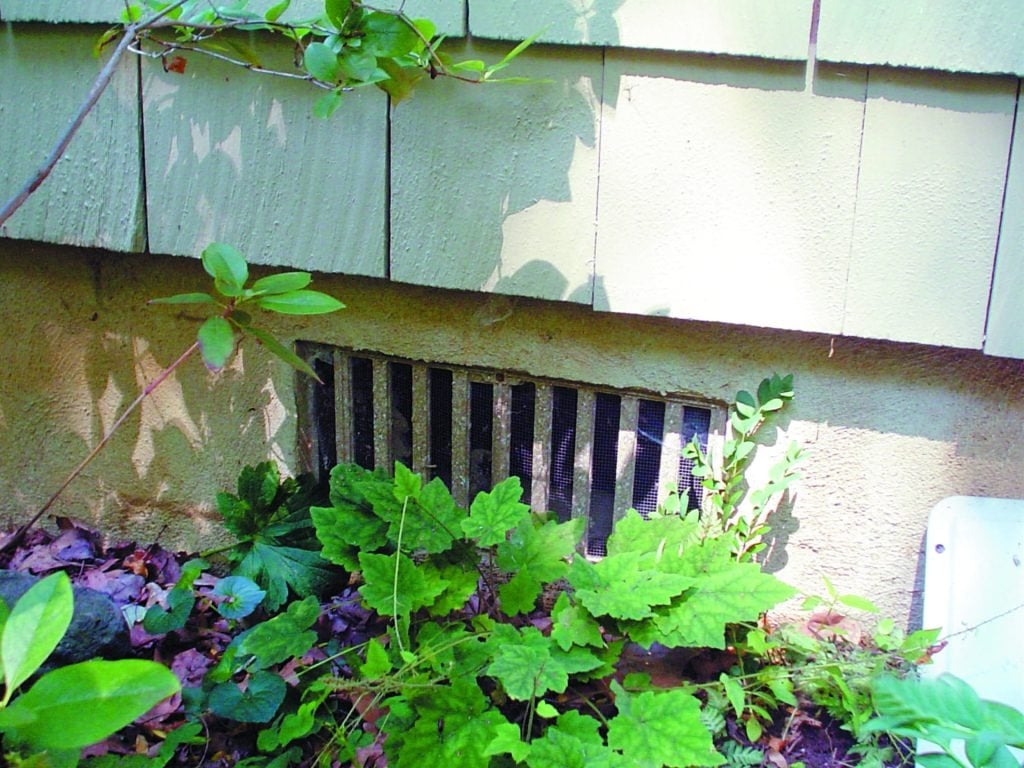
Snow, debris, or ice buildup can block the vent, reducing the system’s effectiveness. This is an especially significant risk during Canada’s long, frigid winters. Regularly inspect and clear obstructions to maintain proper airflow.
5. Seal Foundation Cracks and Entry Points
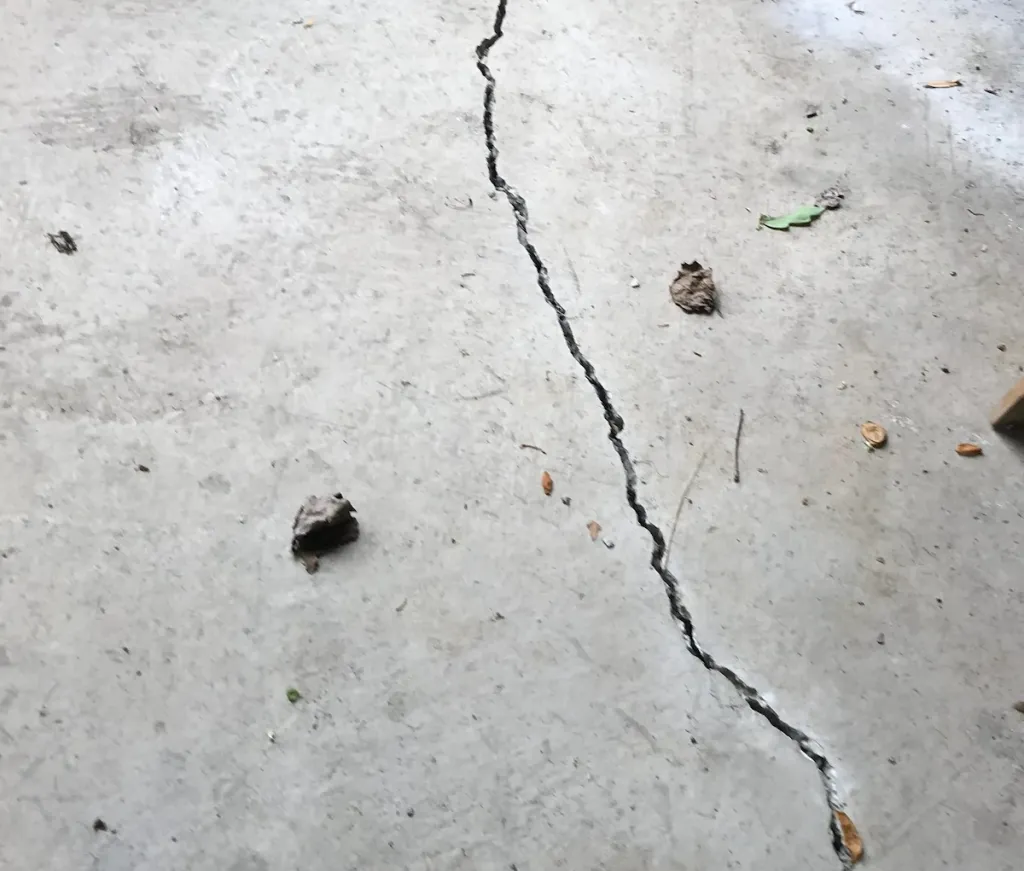
New cracks in the foundation or gaps around pipes can allow radon to bypass the system. Sealing these entry points enhances mitigation effectiveness and prevents radon infiltration.
How Long Do Radon Mitigation Systems Last?
A well-maintained system can last 20 years or more. However, components like the fan may require replacement every 5-10 years. Routine maintenance and annual testing help extend the lifespan and ensure continued radon reduction.
When to Consider Radon Mitigation Fan Replacement
If you notice increased radon levels, unusual noises, or system failure, you may need to replace the fan. A radon mitigation fan replacement guide can help determine the correct fan type and size for your system. It’s advisable to consult a certified radon mitigation professional to ensure proper installation.
Safeguard your Home from Radon with Groundworks

Installing a radon mitigation system is a proven way to reduce radon exposure and protect your family. From initial testing and radon mitigation system installation to ongoing maintenance and repeat testing, staying proactive ensures your system remains effective for decades.
The radon mitigation experts at Groundworks can help you secure your home from radon infiltration. From testing to installation and maintenance, our team is ready every step of the way. Contact us today to get started with a free estimate.


