How to Install a Crawl Space Vapor Barrier
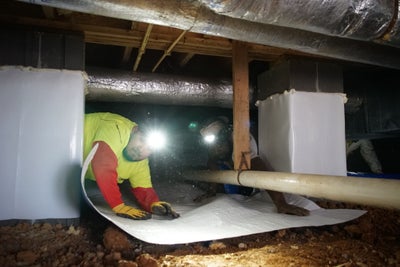
Over time, crawl spaces can become wet and dirty due to prolonged exposure to the elements. Gaps or cracks in the walls or floor, open vents or failing insulation may all allow water and debris into the area.
That’s where a crawl space vapor barrier comes in. These durable and flexible liners offer comprehensive protection from leaks, mold growth, pest infestation and more. In this article, we’ll explore the benefits of sealing off your crawl space with a vapor barrier, and take you step-by-step through the installation process.
Why Should I Install a Vapor Barrier?
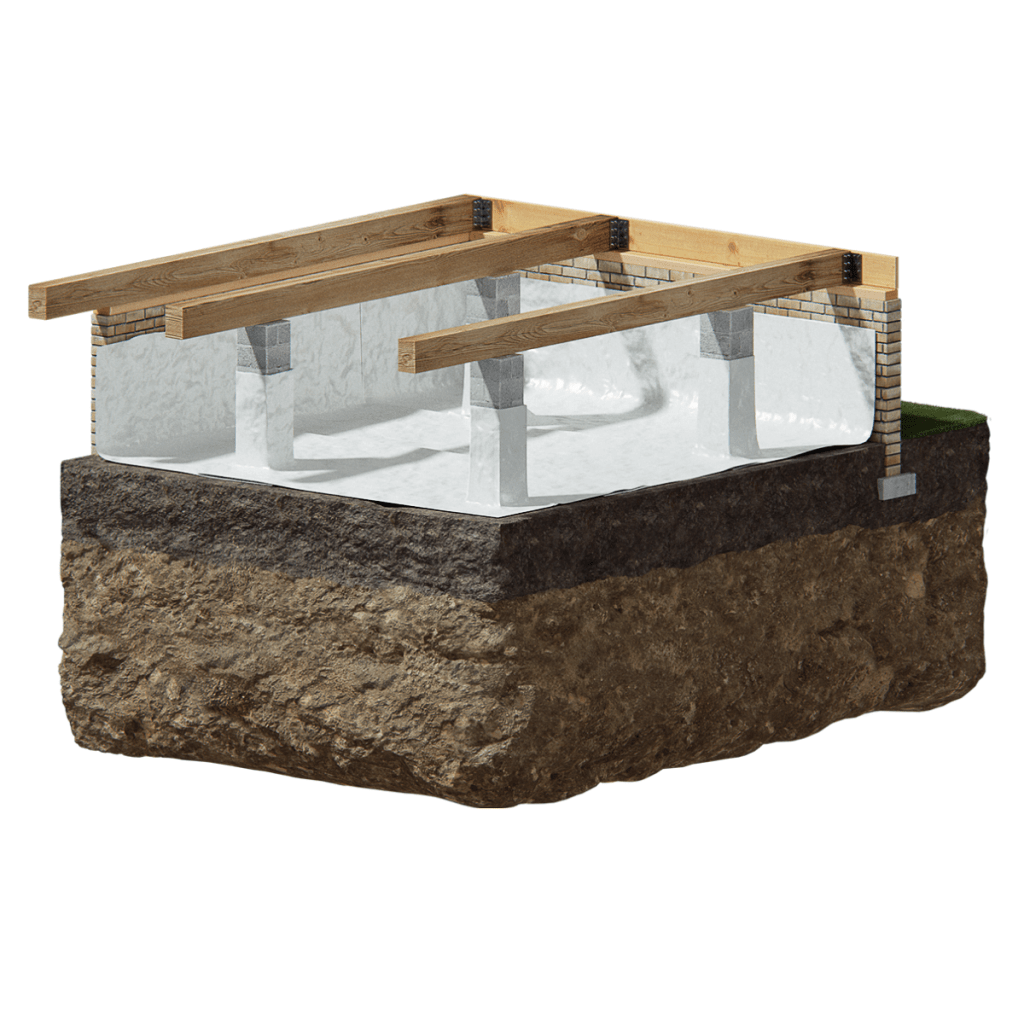
Moisture issues are a major concern for crawl space foundations. When water or wet air seeps in underneath your home, it can start to compromise the support system your whole home is built on.
Over time, this can cause even bigger problems, like mold, wood rot, or sagging floors. A dark, damp crawl space is also ideal for pests to invade.
A vapor barrier alone is a great first step for crawl space repair, but proper crawl space encapsulation involves several defense systems working together. For optimal protection, consider installing crawl space drains, a sump pump, a dehumidifier and insulation to fully secure your space.
How Does a Vapor Barrier Work?
Vapor barriers are placed over the walls and floors of your crawl space to lock out water and wet air. This airtight seal protects your interior from water damage and other environmental factors, preserving the structural integrity of your home. Full encapsulation, like from the experts at Groundworks, is the most effective way to form this seal.
In addition to protecting your foundation, a vapor barrier helps keep your home and wallet healthy. Heating and energy bills can skyrocket if pockets of hot or cold air infiltrate your home from below. A vapor barrier helps maximize energy efficiency, saving you money in the long run.
Vapor Barriers and Mold Removal
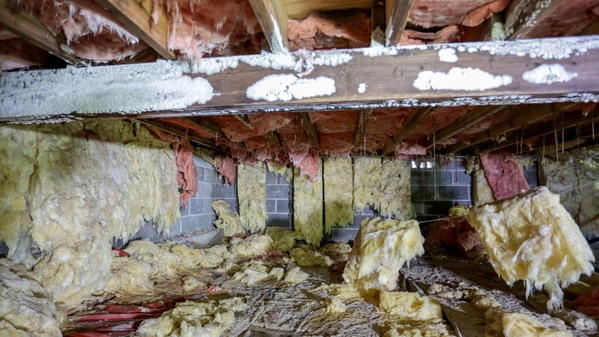
Mold is a common source of many crawl space woes, and can often indicate bigger issues. Should you remove all spots of mold growth in your crawl space before you install a vapor barrier?
The answer depends on the severity of your mold problem. How much mold is in your crawl space, and how long it’s been allowed to grow and spread, is an important factor.
Generally speaking, if the mold is concentrated within less than 10 square feet (or a 3ft. by 3ft. area), you might be able to tackle it yourself with home cleaning remedies. But for more major infestations, the safest bet is professional help.
Prolonged exposure to a moldy crawl space can cause serious health problems, so it’s best to contact a mold remediation specialist for safe and effective removal.
Mold thrives in dark, wet spaces with plenty of organic materials to eat. A damp crawl space full of wooden support beams is the perfect breeding ground. This is why managing the moisture level of your crawl space is crucial. Letting leaks accumulate for too long can invite a whole host of mold and mildew problems into your home.
Crawl space encapsulation with a vapor barrier prevents these water buildups from happening in the first place, minimizing the risk of mold growth. However, if you’re already dealing with a crawl space with a large amount of mold, it’s a good idea to have it cleaned by a professional before moving forward with the encapsulation process.
How to Install a Crawl Space Vapor Barrier Step by Step
Step 1: Inspection
First, before installing a vapor barrier, it’s important to take stock of the crawl space and see if you can identify any problem areas. Are there leaks in the floor or walls that allow groundwater through? Are open vents sending wet air inside? Do you have any leaky pipes? Finding and fixing these potential issues at the start can prevent future problems.
A crawl space inspector from Groundworks will consider factors such as your neighborhood’s unique soil type, the slope of your home, and year-round weather conditions before making repair suggestions.
Step 2: Cleanup
Depending on the condition of your crawl space, the cleanup process can be fast and easy or more complex. Make sure to declutter the space before encapsulation, getting rid of any large rocks, debris or old building materials. Also, make sure any existing water or mold issues are taken care of. Lastly, rake the soil to establish a roughly even grade.
All fallen insulation should be bagged and removed, as damaged insulation loses its strength over time. It may make the most sense to start from scratch with new high-quality crawl space insulation.
Step 3: Seal Crawl Space Vents
Closing your crawl space vents is the best way to avoid air, water, and pest intrusion. While many older homes left these vents open on purpose to improve airflow, the side effects can be severe. We provide custom-fit insulation panels to seal these off before fully encapsulating the crawl space. Exterior vent covers are also available for a finishing touch.
Step 5: Install Waterproofing
If you’ve noticed severe leaks in your crawl space, you may want to consider installing a specially designed crawl space sump pump or other drainage system to ensure lasting protection from leaks or floods. In areas with heavy rains or steep grades, this added peace of mind is definitely worth it.
Step 6: Insulate Walls
Once the crawl space has been prepped for encapsulation, wall insulation is attached to the interior walls with industrial adhesive or masonry fasteners. Modern insulation panels offer a host of advantages over traditional fiberglass insulation.
Step 7: Install Vapor Barrier
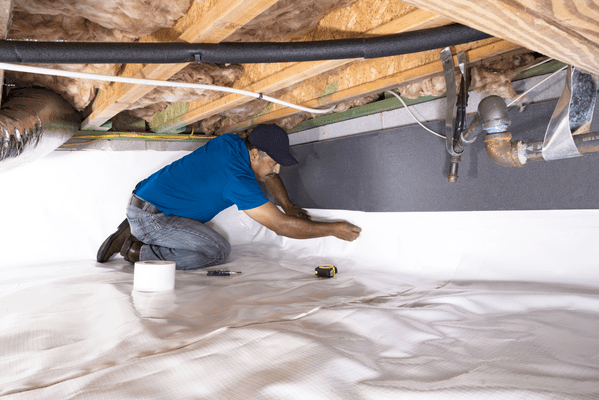
Now, you can measure and cut a high-quality vapor barrier to fit the crawl space and allow several inches to run along the walls. The best vapor barrier for crawl spaces is thin yet durable, providing a strong layer of protection across the entire crawl space. Make sure the seams of your barrier overlap for maximum coverage, then seal them with strong tape.
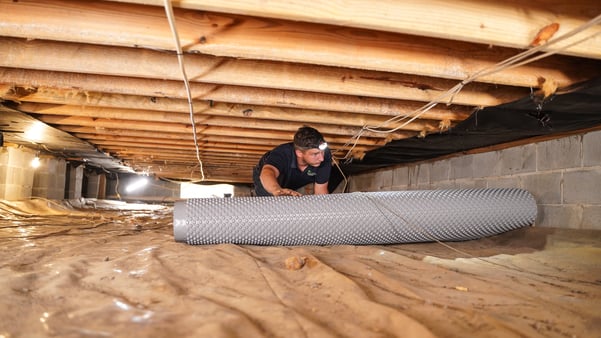
Step 8: Regulate Airflow
Finally, now that your crawl space has been sealed off from the elements, maintaining healthy flow of air from the crawl space to the rest of the home is crucial. An energy-efficient crawl space dehumidifier is the best way to regulate air quality and moisture content in your crawl space.
Work With Groundworks for Expert Vapor Barrier Installation
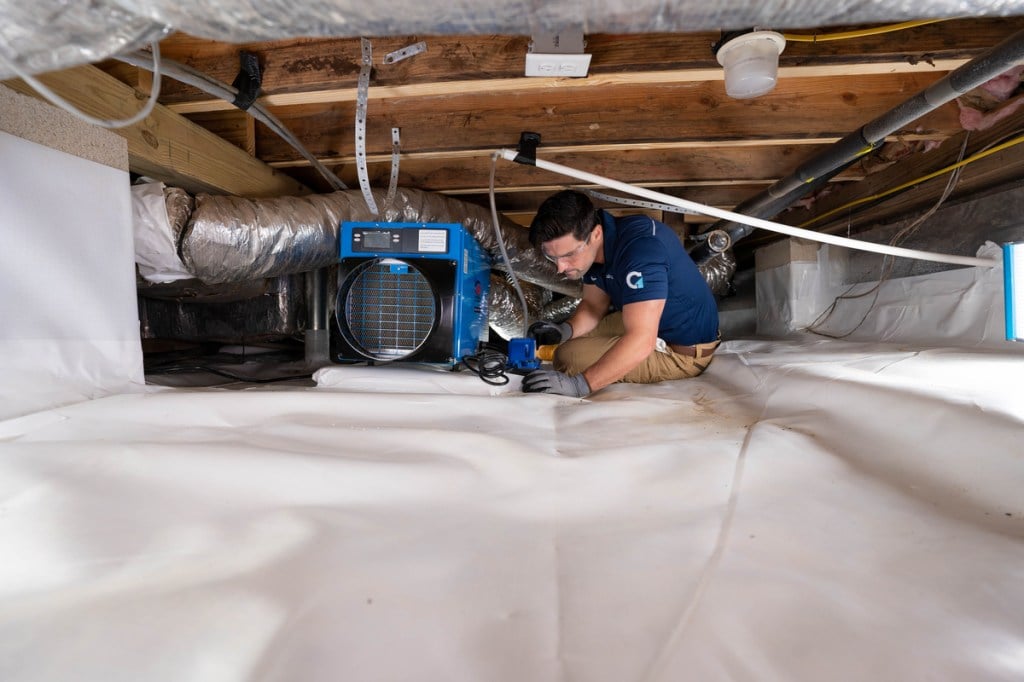
Installing a vapor barrier in your crawl space is a simple process, but depending on the shape of your crawl space, it can be a lot of work. Save yourself the stress and the hours spent in a tight space by letting the crawl space repair professionals at Groundworks seal your crawl space for you.
Our 20-mil CrawlSeal™ liner is the best choice for long-term crawl space protection. Call today to schedule your free inspection or book online. We’ll work with you to schedule a time and date to have our team take a look at your crawl space and design a solution that suits your needs.
Vapor Barrier FAQs
Potentially. By preventing moisture and unconditioned air from entering your home, the barrier helps maintain a more stable temperature below your home and may reduce the need for heating and cooling.
While it is possible for homeowners to install a vapor barrier themselves, any errors in the process end up causing more issues down the line. Hiring a professional ensures the job is done correctly and efficiently.
The lifespan of a vapor barrier can vary depending on the material used and the conditions in the crawl space. High-quality vapor barriers, like those offered by Groundworks, can last for many years, often over 20 years, especially when installed professionally and maintained properly.